Car seat accessories can make daily travel cleaner, calmer, and more convenient. Yet convenience must never weaken the restraint system. This 2026 guide explains how to install car seat accessories correctly, using practical checks and current safety guidance. Small details matter, including strap clearance, buckle access, and the space beneath the child’s seat.
The National Highway Traffic Safety Administration reports that properly used child restraints reduce fatal injury risk by 71% for infants and 54% for toddlers in passenger cars. Its Traffic Safety Facts publications also emphasize correct restraint use and installation. The American Academy of Pediatrics recommends choosing accessories compatible with the specific car seat and following manufacturer instructions. Meanwhile, the Insurance Institute for Highway Safety evaluates vehicle and restraint designs, reminding families that protection depends on the entire system, not appearance alone.
A seat protector should not create movement under the car seat. A backseat mirror must stay clear of the harness and never become a loose projectile. Organizers need secure attachment points, while travel bags should not remain around a child during driving. Avoid aftermarket padding near the child’s back, unapproved harness clips, or products that change belt routing. These additions may look harmless. They can interfere with crash performance.
Even careful parents get this wrong.
This guide will show where each accessory belongs, what to inspect by hand, and when to stop installation. Check the car seat manual, vehicle manual, and accessory instructions together. If instructions conflict, contact the manufacturer or a certified child passenger safety technician. A neat installation is useful, but a secure installation matters more.
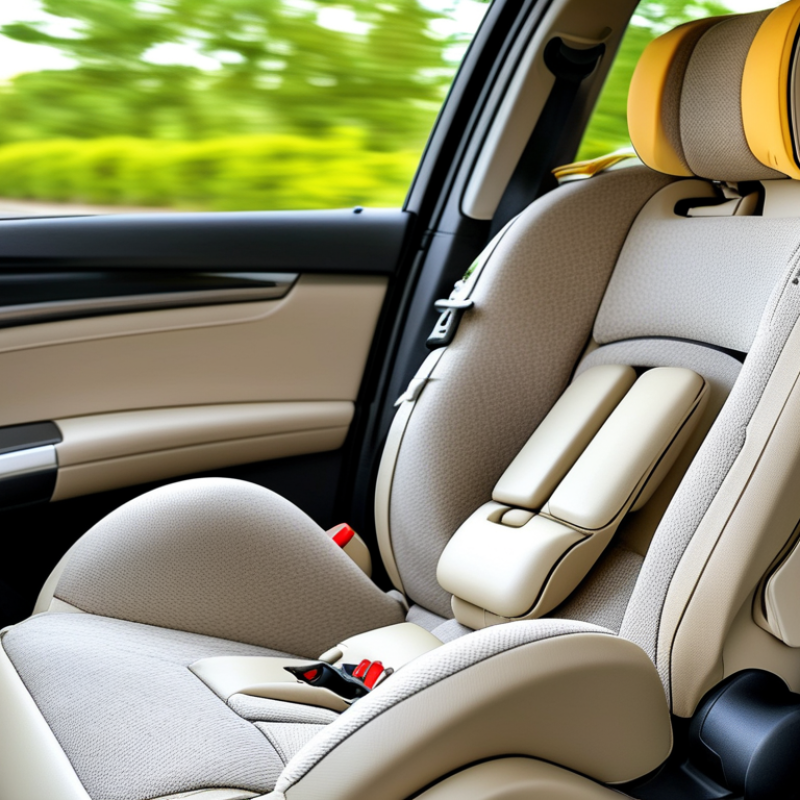
2026 Accessory Safety Check: FMVSS 213 Sets Child-Seat Performance Standards
FMVSS 213 sets performance requirements for child restraint systems, including crash protection, harness strength, labeling, and installation testing. It does not automatically approve every accessory sold for a vehicle. A seat protector, cushion, mirror, or harness pad may change belt tension or restraint movement. That difference matters during a collision.
NHTSA’s Traffic Safety Facts report states that child restraints saved 425 children aged four and younger in 2022. NHTSA also reports that nearly half of child restraints are used incorrectly. During a practical installation check, place the restraint on the vehicle seat without thick padding underneath. Route the belt through the marked path. Lock it as directed. At the belt path, the restraint should move less than one inch in any direction. Small errors count.
Keep the harness flat and positioned at the correct height. Avoid aftermarket inserts behind the child unless the restraint instructions permit them. Never place bulky clothing under the harness. Check the vehicle manual, restraint manual, and accessory instructions together. FMVSS 213 testing cannot confirm compatibility with every accessory combination. That is the uncomfortable gap. I would recheck the installation after every cleaning, seat adjustment, or transfer between vehicles. NHTSA’s Child Passenger Safety recommendations and the Insurance Institute for Highway Safety’s restraint evaluations offer useful reference points, but careful daily use remains essential.
Secure the Car Seat Base: Allow Less Than 1 Inch of Movement at the Belt Path
When installing a car seat base, focus on the belt path, not the handle or shell. Place the base flat on the vehicle seat, then follow the seat and base manuals. Use either the vehicle belt or lower anchors, unless instructions specifically permit both. Thread the belt carefully through the marked path. Remove slack before tightening. Keep the belt flat. Stay calm.
Press down where the child seat connects to the base, close to the belt path. Pull the base side to side and front to back. Movement should be less than one inch in every direction. A loose-looking top is not always a loose base; test the correct area. It is easy to tug the canopy or upper shell instead. That test can mislead you. Tighten the belt or anchor strap, engage the built-in lock-off if provided, and check the recline indicator. Do not add towels or cushions unless the manual allows them.
After installation, click the carrier into place and listen for a clear connection. Lift gently to confirm it is attached. Check that no buckle is trapped under the base. If the base still shifts more than one inch, remove it and restart. A certified child passenger safety technician can inspect the setup. Recheck after moving the base or changing vehicles. I would not rely on one successful tug; installation errors can hide in plain sight. Small details matter.
2026 Top Car Seat Accessories: How to Install Them Correctly?
Secure the Car Seat Base: Allow Less Than 1 Inch of Movement at the Belt Path
After installation, grip the car seat base at the belt path and test it from front to back and side to side. The base should move less than 1 inch, which equals 2.54 centimeters or 25.4 millimeters, in either direction. Tighten the vehicle belt or lower anchors and repeat the check if movement reaches the reference limit.
Reference measurement: 1 inch = 2.54 centimeters = 25.4 millimeters.
Attach Mirrors, Organizers, and Shades Without Blocking Airbags or Harnesses
Car seat accessories can improve visibility and reduce clutter, but only when they stay clear of airbags and harnesses. In practical seat checks, a rear-facing mirror should be small, lightweight, and firmly secured to the vehicle headrest. It must not rest against the child seat or become a hard object during sudden braking. Check the mirror from the driver’s position. A clear view matters more than a wide mirror.
Keep organizers away from the car seat shell, harness straps, and buckle area. Attach them only to approved headrest posts or other locations allowed by the vehicle manual. Do not route straps across the seatback’s side seams. Those seams may mark side-airbag deployment zones. A full organizer can also become heavy. Use soft items only, and remove loose bottles or toys before driving.
Window shades need similar care. Choose a shade that does not cover the side-airbag label or block the driver’s view. Avoid rigid frames and unsecured suction mounts. The shade should sit flat against the glass, with no dangling cords near the child. After installation, move the front seat through its normal range and inspect every strap. I still recheck this after cleaning the vehicle; small shifts are easy to miss. When the vehicle or car seat manual gives different instructions, follow those instructions and seek a qualified child-passenger safety inspection.
Conclusion
This guide explains how to install car seat accessories correctly while keeping child safety the top priority. It begins with a safety check based on FMVSS 213, which establishes performance requirements for child restraint systems. Seat protectors should lie flat and must not interfere with the LATCH connectors, belt path, or secure contact between the car seat and vehicle seat. After installation, the car seat base should move less than one inch from side to side or front to back when tested at the belt path.
The guide also covers how to attach mirrors, organizers, and window shades without blocking airbags, reducing visibility, or interfering with the harness. Finally, it emphasizes proper harness adjustment: straps should lie flat, pass through the correct slots, and fit snugly without bulky clothing underneath. Careful installation and regular checks help reduce preventable risks and support safer travel for infants and children.
 Xotiq Auto
